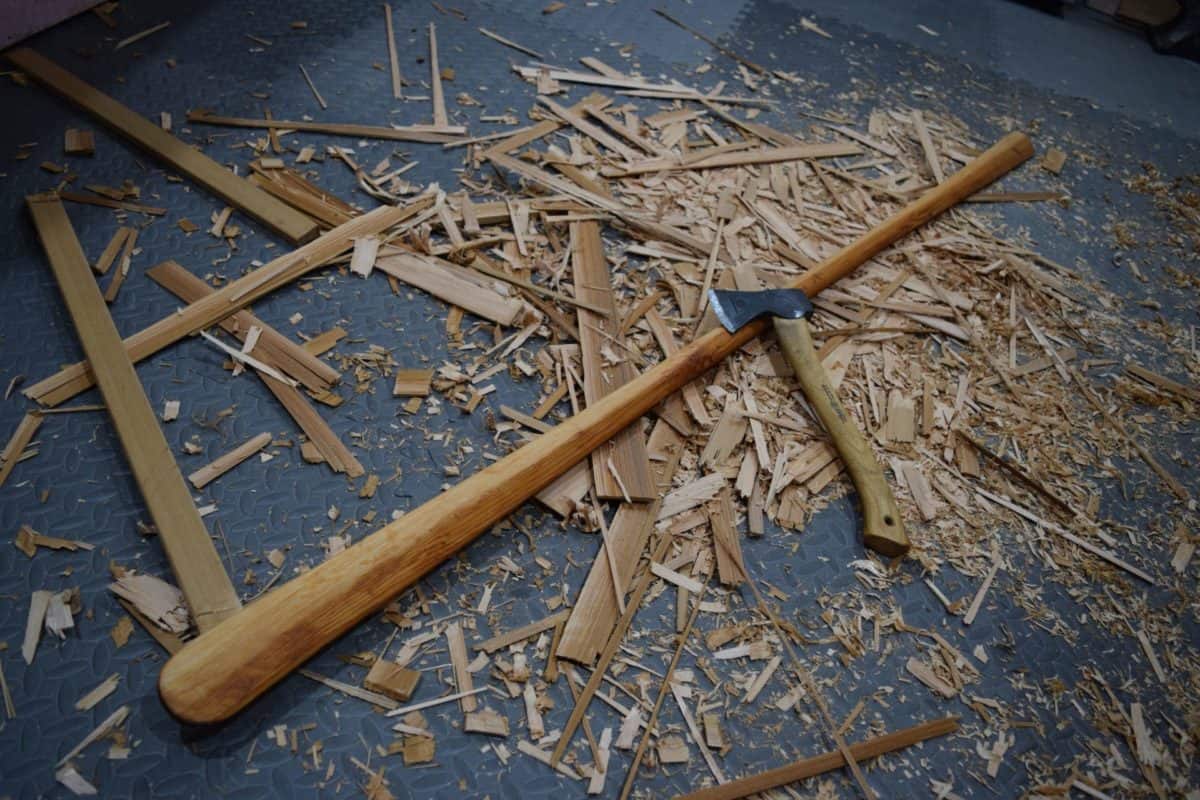
Hatchets are extremely versatile tools. They can be used for splitting kindling and building shelters, but it doesn’t end there. A hatchet can quickly remove material, shape and carve like a knife, and precisely plane smooth surfaces. Carve a Greenland Paddle, practice all these skills and more.
This article is focused on a demonstration of some more niche hatchet skills. For a broader take on hatchets, including answers to most of the top questions people ask Google about them, check out my article Hatchet Skills for Camping (and Bushcraft)!
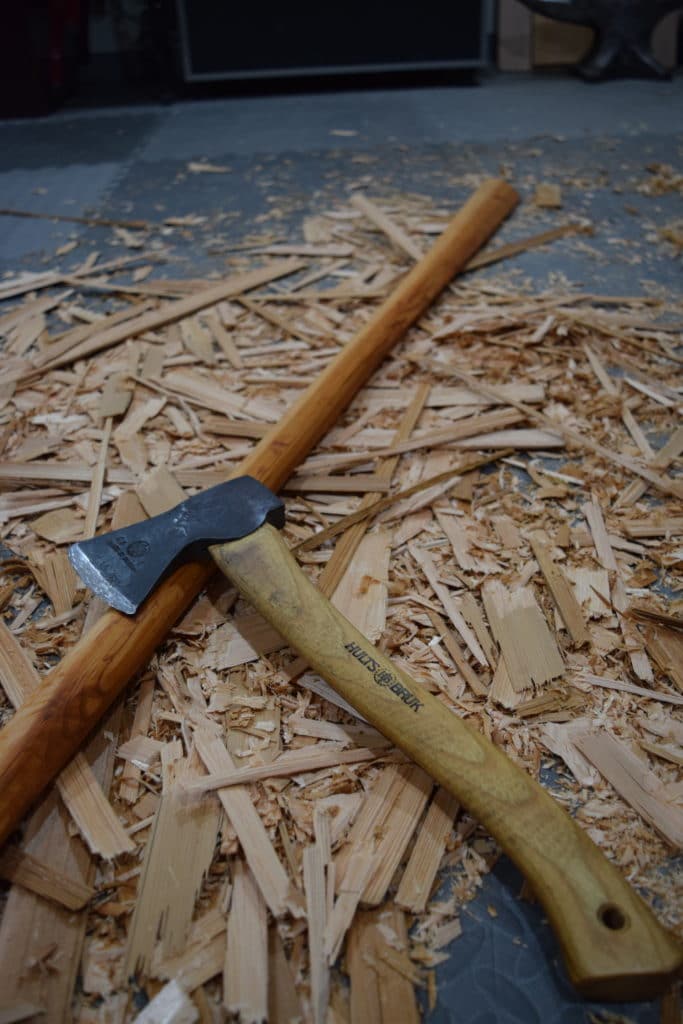
Table of Contents
The Video:
For this post, video was the only way to go. I launched the Ben Gordon Outdoors YouTube Channel, and stumbled my way through filming and video editing. I apologize for wandering off frame so much, and promise better quality in future.
What is a Greenland Kayak Paddle?
Greenland natives traditionally used a very wide array of paddle styles, but nowadays, Greenland Kayak Paddle refers to one style in particular. Rather than the more widely-used European “spoon-bladed” paddle, Greenland Paddles feature a long, tapering airfoil (hydrofoil?) blade.
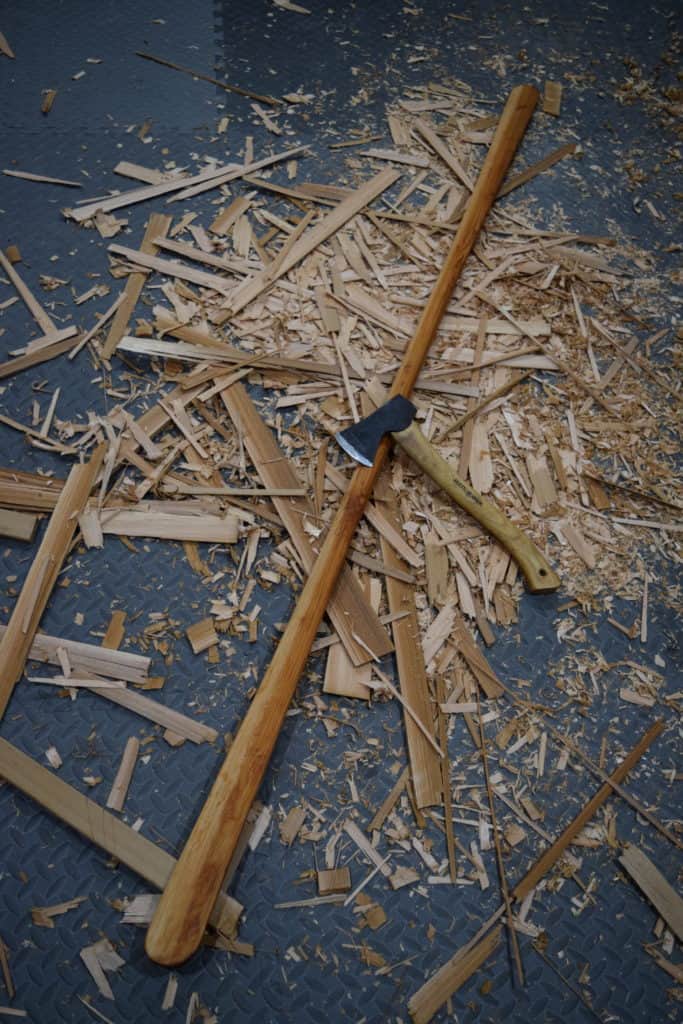
Being so straight and narrow makes it very easy to carve a Greenland paddle. Much less stock needs to be removed than on a wide-bladed canoe paddle carved from a single board.
The straight and narrow nature of these paddles also makes them fantastic as spare paddles for sea kayaking. If you roll upside-down and lose your main paddle, pulling a disassembled European paddle out of deck rigging is not a comfortable option. You need to grab both halves (or use just one half if you’ve practiced this way), assemble the paddle, then set it and try for a roll, all while underwater.
With a Greenland paddle, the whole paddle can easily slide out from the rigging. No wide blades to catch on rigging, just grab and roll.
How do you Size a Greenland Paddle?
Like any paddle, the sizing depends on your body.
If you’re picking one out in a store, look for a shaft (loom) about the width of your shoulders and a diameter that fits easily inside your hands. If they’re labeled, measure the diameter of a circle made by touching your forefinger and thumb tips together.
Blade width is based on the distance between your thumb and the second knuckle on your forefinger when you make the largest C-shape you can with your hand. The paddling style involves sliding your hands up the blades, so make sure you can comfortably grip the widest part.
Paddle length is normally about the same as a conventional Euro paddle – from the ground up to the top of your palm, with your arm stuck straight up in the air.
For plans to make your own, and way more info on Greenland Kayak Paddles in general, head on over to QajaqUSA.org. This is where I found the PDF that taught me to make my first paddle about eight years ago.
How do you Paddle with a Greenland Paddle?
Changing paddle types demands a change in paddling style. European paddles work great for fast, aggressive paddling, but Greenland paddles don’t grip the water quite the same way.
The storm paddle pattern is built for endurance in high winds and waves. We have come to think of the storm paddle as the Greenland pattern, though natives used a wide variety of patterns.
Grip the paddle as you would an ordinary European paddle: hand on the shaft about shoulder width apart. Dip one blade into the water, and start a normal forward stroke.
To add a little power, let the top hand slide up the blade as the stroke progresses. To add a lot of power, slide both hands up towards the top end. Grip over the end of the paddle, as if holding a canoe paddle, and dig deep with the bottom blade.
When rolling a kayak with a Greenland paddle, it’s pretty much necessary to reach way out with the far blade. Choke up, as if for the very powerful stroke described above, and reach way out with the blade. Sweep, snap your hips, and you’ll pop right up, even easier than with a normal paddle.
What Hatchet Skills are Used?
This build drew on heavy stock removal skills, as well as fine carving, planing, and burnishing.
Stock Removal
With straight-grained wood, the toughest thing is controlling how much wood comes off. Bite in with your hatchet at an angle, then peel the chips off.
Make sure to put in “stop cuts” before getting too carried away. Wherever you want the grain run to stop, chop in (or saw in, if you’re using the right tool for the job).
If you don’t include stop cuts, you’ll accidentally split off half your paddle blade.
Always remember to use measured blows. As you get closer to your lines, lay off on the power, choke up on the head of the hatchet.
It’s a good idea to stop short of your final lines when you’re swinging the hatchet.
Carving and Planing
Choke up on the head of the hatchet. If you can find any way to hold your work piece safely without sacrificing a hand, use both hands to control the hatchet.
Sharpen regularly when in these stages. A little touch-up makes a huge difference. When I’m on trail, I use mini diamond whetstones on all my blades. Usually I only grab the finest one and leave the rest at home if I’m carrying my gear, but for car camping I’ll bring the set.
For carving, slice laterally across the cut, don’t try to push your blade through the wood. Pay extremely close attention to the angle of the hatchet head, as it’s easy to accidentally dig too deep.
Planing requires even more control. Figure out a work holding solution if you can. I find that having one hand on the steel of the hatchet head, with my thumb referencing against the work piece (well behind and clear of the cutting edge) works well for me.
A hand on the far end of the hatchet handle helps to give roll control.
Burnishing
Burnishing is just rubbing a smooth, hard object against wood to give it a smooth, pressed-in texture. After you finish trimming away any high spots and rounding things off in your shaping steps, it’s time to put a nice surface finish on.
Use the same grip as for planing, but roll back onto the smooth steel of the polished edge. We’re not cutting here, just rubbing the smooth steel against the wood, with lots of pressure.
The head and pressure sort of seal the wood, affording some water resistance if you’re on trail and have no oil for sealing.
Conclusion
Hatchets have way more uses than just splitting kindling down for building a fire and chopping logs for your shelter. If you want to know more about hatchets and their place in the woods, check out my article Hatchet Skills for Camping (and Bushcraft)!
Don’t ignore all the other techniques for fine woodworking in the wilderness that your hatchet offers.
Get out and try kayaking with a Greenland-style Kayak Paddle soon, or try your hand at making one. They can be made very quickly using modern tools, or very cheaply with just your hatchet.
This is amazing! I love kayaking and how great would it be to carve my own!
Amazing craftsmanship. Loved the video!