
In my years as a camp counselor, lead resident camp counselor, and adventure trip leader, I slowly tweaked the gear I carried day-to-day in my backpack. My hatchet probably saw the most use out of anything in that bag.
Whether I was quickly carving a makeshift tomahawk handle to replace one the campers had just broken, shaving down a rough spot on a log bench, or sent off to start a fire quickly in the pouring rain, that hatchet got me through.
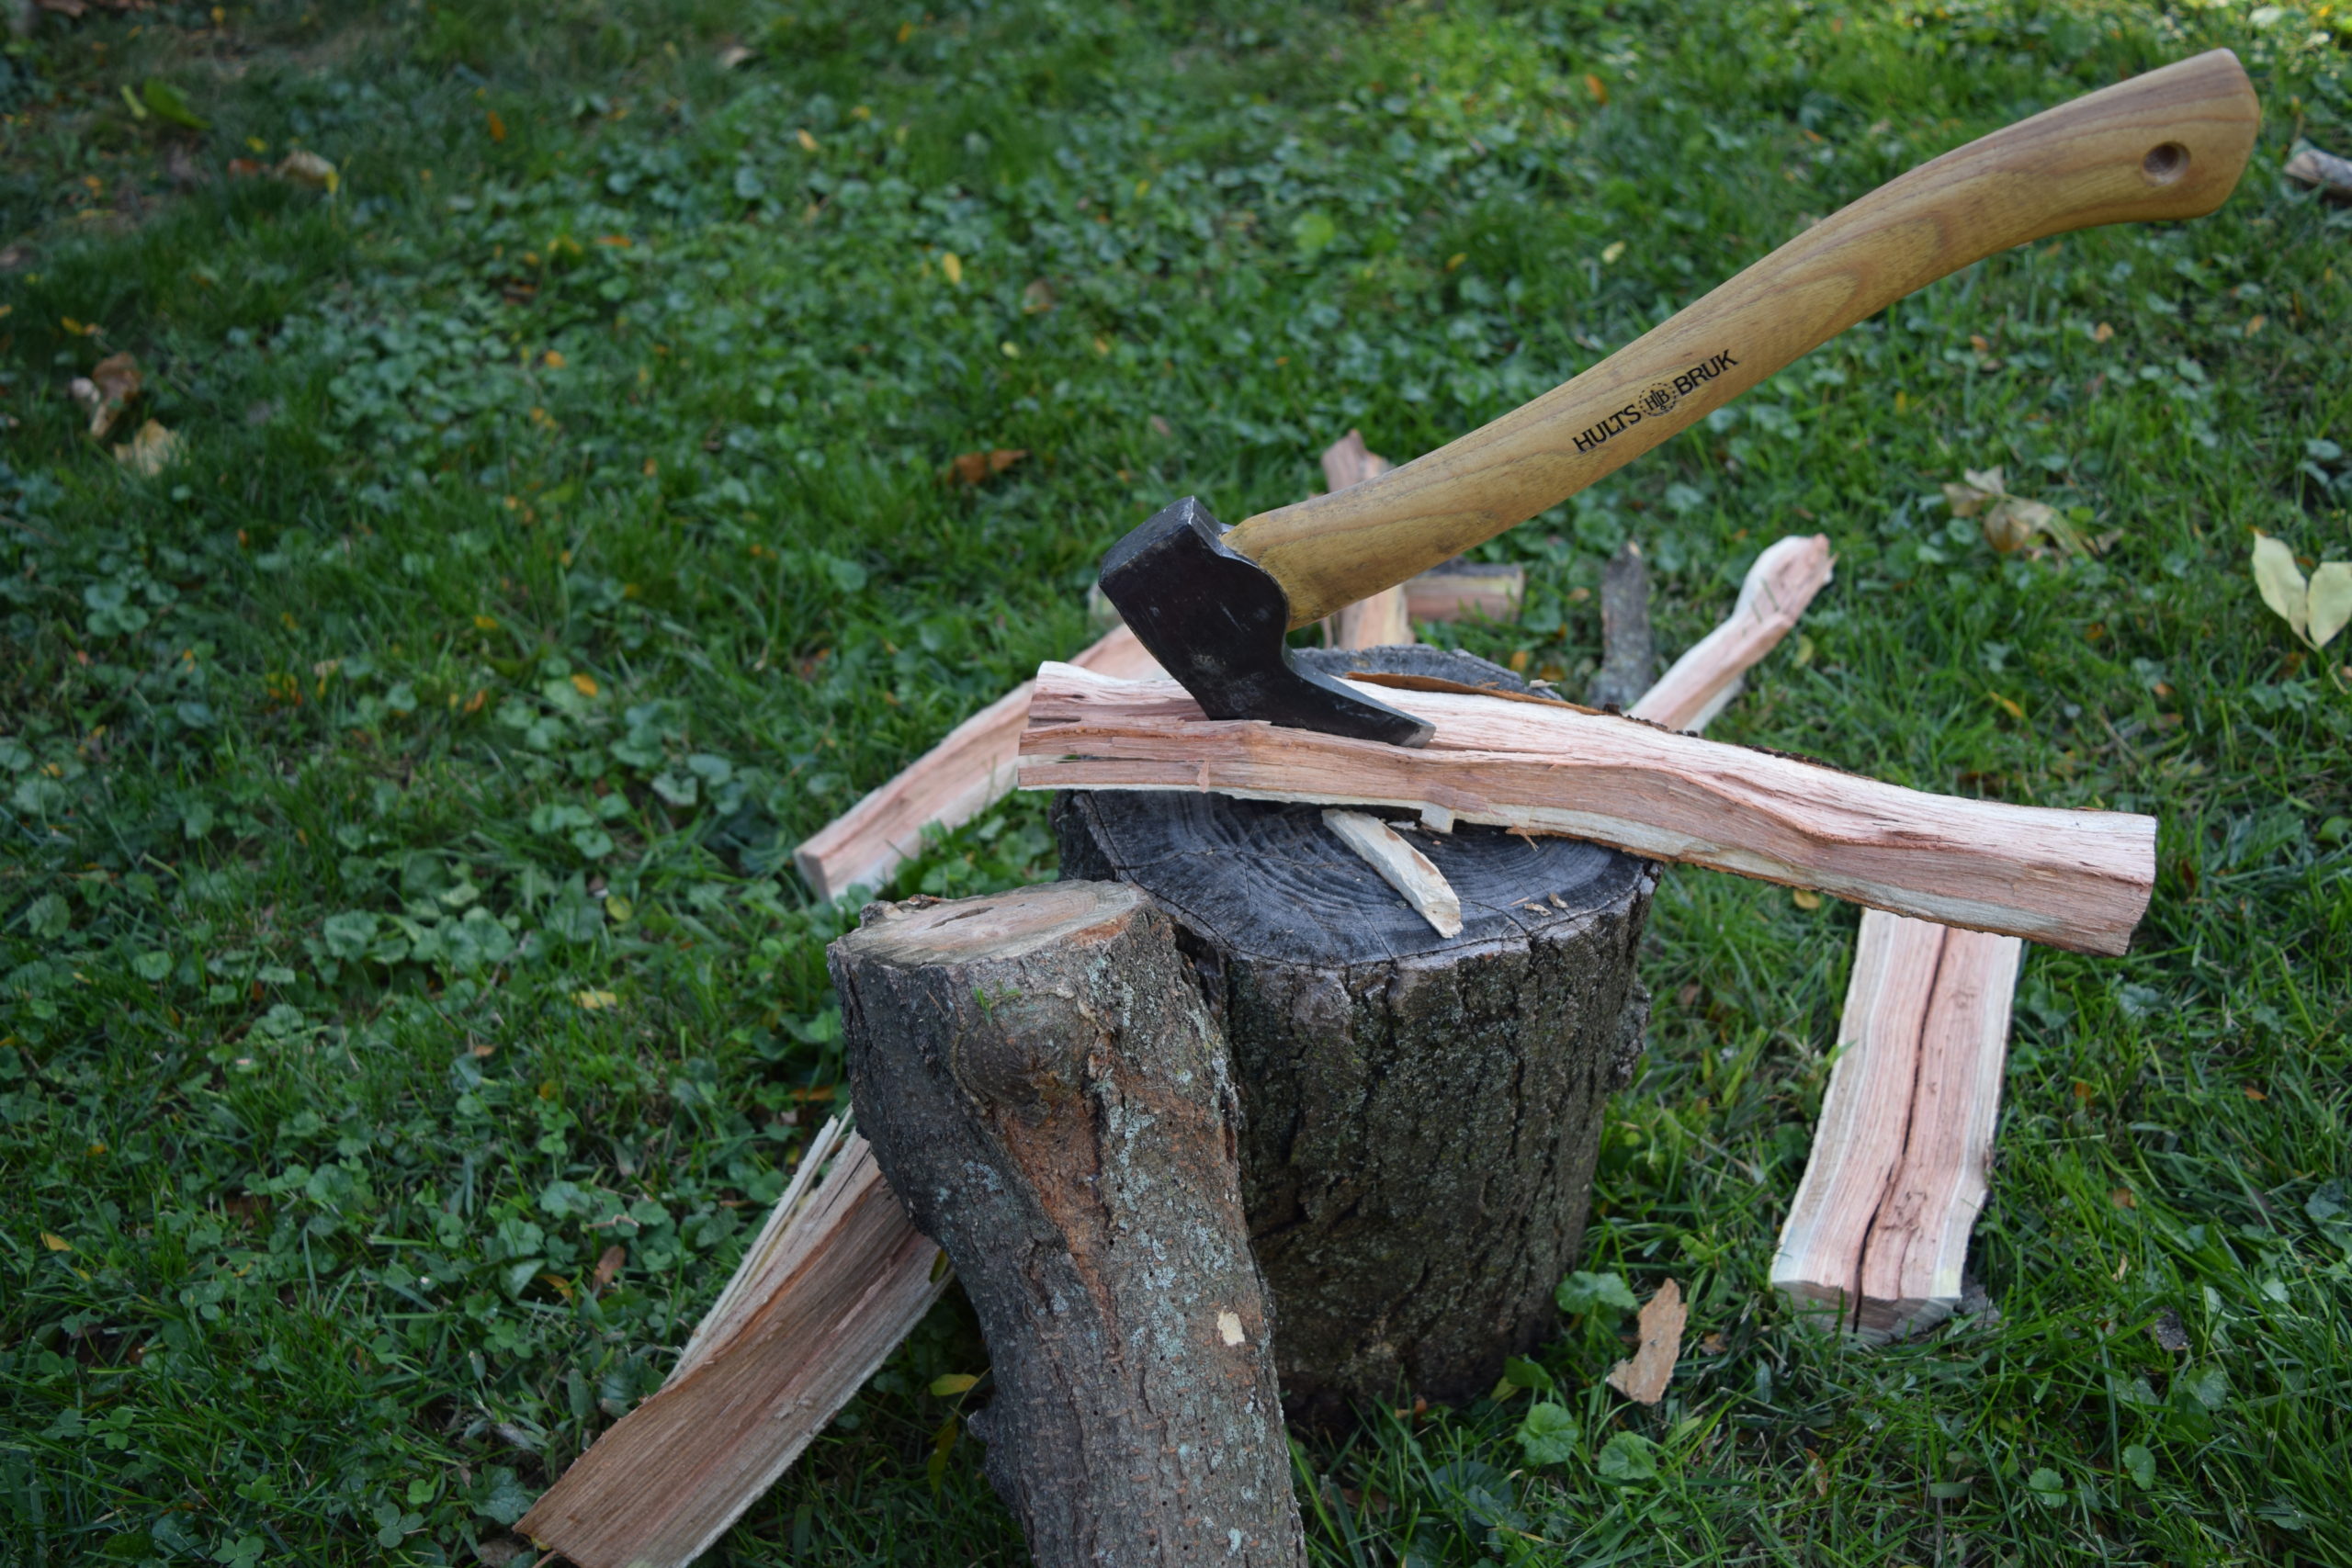
Probably the most common task I put it to was splitting wood, both large rounds to quarters, and quarters down to kindling.
With a big splitting maul or axe, it’s easy to just rely on the weight of the head to carry it through logs. Splitting firewood with a hatchet requires accuracy, a few finesse techniques, selecting easy-to-split logs, and an understanding of the hatchet’s limits.
Table of Contents
Why Split Wood with a Hatchet?
Wood that’s split burns better immediately. The act of splitting creates harder angles with more exposed wood, and opens up the resin-rich heartwood of the log to the flames. I have a whole article on the question “Why do we Split Firewood?” if you want to read more of the science behind this.
Splitting mauls are optimized for splitting firewood. Their large, heavy, aggressively wedge-shaped head and long handles are designed to tear logs apart.
If you’re splitting wood at home, on the farm, or at an established basecamp, the splitting maul is your ticket. You can grab a decent one from your local hardware store (opt for one with a wooden handle if you plan on doing any large amount of splitting, as the rubbery ones give more blisters), but if you’re looking for a great axe, grab the Hultafors 30in Splitting Axe (Imported by Husqvarna and labeled with their brand in the US).
However, when camping or hiking, carrying a huge splitting maul isn’t always practical. My little hatchet rode in my backpack all over camp, and was frequently put to work splitting full logs to quarters, or quarters down to kindling.
Especially when backpacking, weight is essential to minimize. While a heavy maul excels at splitting wood, it’s too heavy to carry through the backcountry, and it’s too specialized. Hatchets are more all-around tools, able to bite deep enough to drop moderate trees, sharp enough to feather sticks, and stout enough to split wood.
Hatchet Splitting Techniques
For those who would prefer video version, here’s my video on How to Split Firewood with a Hatchet:
With a big maul, it’s easy to just rely on the weight of the head to carry through even nasty, twisted logs. Splitting with a hatchet requires more finesse.
It’s best to put in some practice time building up accuracy with your hatchet at home, before hitting the trail.
When I was first learning to use a hatchet, my camp director set me to work making a large store of kindling. After a bit of watching me struggle, he instructed me to build up my accuracy so I would hit where I wanted more reliably.
My camp director pulled out a box of wooden matches, made a shallow cut in the top face of the log I was about to split, and stuck a matchstick in it. I was to split ten matchsticks in half, then go on to trying to split the matchstick and log beneath in the same blow.
Choosing the Right Log to Split
Not all logs are created equal. You’ll want to choose a log that’s a less dense wood, with straight grain, and no knots when you’re getting started.
As you get more experienced, you can progress up to nastier logs, but know that there are some logs you just can’t take on with a little hatchet.
Green, old, gnarled oak logs are some of the most difficult you can split with any tool, let alone a small hatchet.
The drier a log, the easier it will be to split, so try to find wood that’s been seasoned a while. Less dense woods, like birch, cedar, or pine will be more brittle and easier to split.
Straight-grained wood with no knots is about the easiest you can find to split. The length of your logs also plays in, as there’s less surface area to peel apart in shorter logs than longer ones.
Standard Stump Splitting
Just like with an axe or maul, splitting with a hatchet can be done best on a flat surface that you don’t need to worry about driving your blade down into.
Because of the shorter handle on your hatchet, you’ll want a splitting stump that’s a little taller, closer up to your waist than the traditional knee-high stumps used with longer axes.
Unlike with a maul, you’ll need to really put your whole body into the swing. Stand a nice easy log up straight on your stump. You may need to turn it around a bit to find where the two not-quite-level surfaces balance each other out so the log stands well. Grab your hatchet handle with one or two hands, raise it up over your head, and slam it down.
Aim for the bottom of the log you’re trying to split, not the top. It may not seem like it makes much of a difference, but you’ll subconsciously start to slow the hatchet down as it comes into contact with the top surface if that’s where you aim. You need to aim THROUGH the log, not at its top.
There’s a pretty good chance your blade will get stuck midway through a troublesome log when splitting this way, so you’ll likely need the next technique along the way.
Upright Bash
Not any sort of formalized name, it’s descriptive nonetheless. The “Upright Bash” is what you use when your blade is stuck in a log you’re trying to split, whether accidentally or intentionally.
With the blade of your hatchet buried in a log, lift both the log and hatchet together, both hands on the handle of your hatchet. Raise them high, while keeping the log oriented vertically. Then slam them down into the splitting stump, as if you’re trying to bash the log into the stump.
This technique can help you power through tricky grain or knots, but it’s especially useful when doing fine splitting of kindling. It can be tough to keep these narrower splits standing on their own, and difficult to hit them accurately.
Instead, VERY CAREFULLY hold the small split you’re looking to split again in the upright position, and gently tap your hatchet blade on the top surface, just until it sticks. Then lift the two together, and bash the blade through to split the kindling down.
DO NOT STICK YOUR HATCHET IN YOUR HAND. If you feel at all uncomfortable trying this, don’t try it at all. This is what sent Mary Kate Green home on Season 2 of Alone with a split tendon, see video here.
Upside-down Bash
Sometimes you have to get creative with particularly tricky logs.
Large logs often have more mass, and therefore more inertia when in motion, than the head of your hatchet. Hatchets often have heads that weigh in at two pounds or less, versus five or more pounds on large splitting mauls.
This means that for any log that weighs more than a couple pounds, the better physics play is to flip your hatchet around when bashing, so the back of the hatchet head hits first and the weight of the log caries it through.
Only useful when the hatchet head isn’t all the way buried in the log, the upside-down bash can make getting that initial split going much easier. Once the head is fully buried, you will have to resume normal upright bashing.
Baton the Hatchet
A safer, smarter option than putting your hands in harm’s way, batoning hatchets is a great way to split fine kindling.
Batoning knives is a pretty divisive issue, but batoning hatchets should not be. Hatchets, unlike knives, are striking tools. Made of tough, impact resistant steels, hatchets are designed to take a beating.
Stand your log or split upright, set the head of your hatchet where you want to split, and put a little downward pressure on there with your hatchet to hold everything in place. Grab a stick or log about wrist thick, and bang on the back of the hatchet head to drive it into the wood, just like a wedge.
You might not get all the way through the wood before burying your blade, but at that point you can switch to the upright bash to safely finish the job.
Do not hit hardenable steel on hardenable steel (axe on hatchet, hammer on hatchet, etc.). It can cause your hatchet to shatter in a pretty dangerous way. Splitting wedges are purposely made from softer steel for safety on this front.
Also don’t beat on your hatchet handle. Once the head is buried, switch to bashing the log and hatchet down together on your stump.
Parallel Splitting
For logs up to about four inches in diameter (depending on species, knots, etc) another splitting option exists: the parallel split.
This is a great option if you don’t have a nice splitting stump handy, as you can use roots, downed logs, or anything else reasonably resilient as a backing plate.
Holding onto the near end of your wood to be split with your offhand, bring your hatchet handle parallel to the wood. Set the blade of your hatchet against the side of the wood a couple inches from the far end, and swing the two together into your stump, letting the blade drive through the wood sideways.
Be careful to avoid crunching your fingers between the wood and your hatchet handle. Just expect that the two will try to pivot relative to each other, and be ready to resist it.
One the hatchet head is buried, wrench the two pieces sideways relative to one another, ideally splitting the wood as the blade twists in it. You may need to work the blade loose, then switch the wood end for end and repeat on the other end.
Wrapping Up
For more info on what makes a hatchet a hatchet, or for a quick hatchet buyer’s guide, check out my full article on What is a Hatchet.
The two hatches I recommend at the end of that article are the Hults Bruk Almike (what I use, but a little expensive) and the Hultafors 13in Hatchet Imported by Husqvarna (still a great option, a little heavier, but much cheaper).
